
Learn / Phase 05 — Site Work & Foundation
Phase 05 · Site Work & FoundationPre-Pour Plumbing: The Mistake You Can't Take Back
Drain locations under the slab are forever. The pre-pour walk that prevents a lifetime of awkward fixture placement.
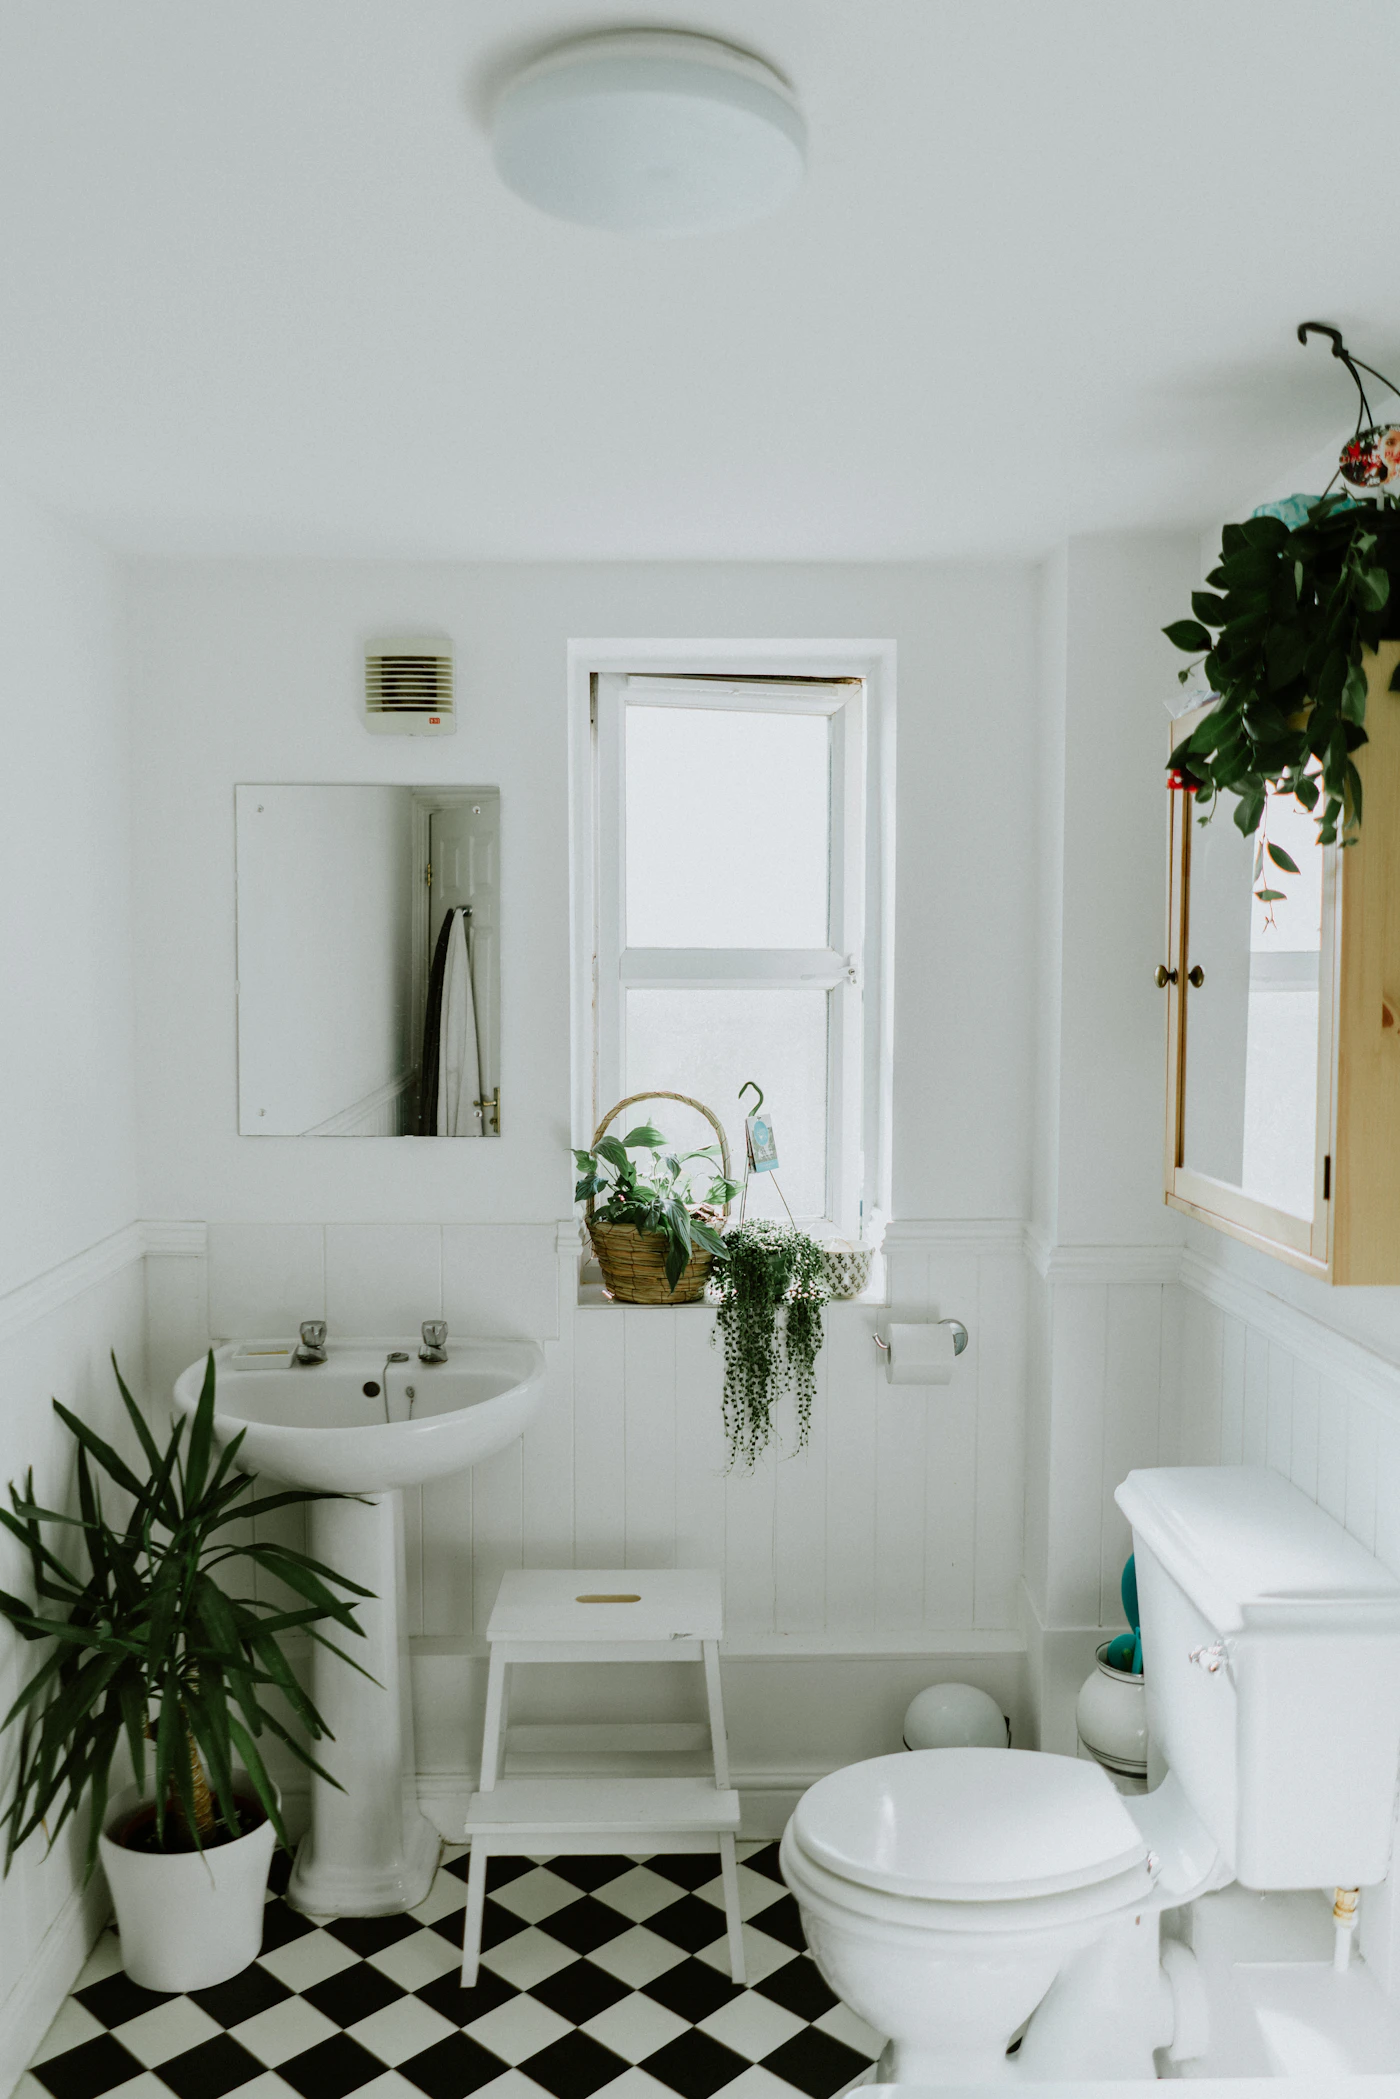
Once the slab pours, every drain location under it is permanent. Move a toilet flange a foot later and you're saw-cutting concrete, trenching, repouring, and explaining to your wife why there's a 4-foot patch in the master bathroom floor. The pre-pour plumbing walk is forty-five minutes that prevents twenty thousand dollars of regret.
What's under the slab
Before the concrete trucks arrive, every drain line, vent stack, and water supply that comes up through the slab has been roughed in and pressure-tested. The plumber has placed stubs (sticking up from the gravel/sand pad) for every fixture in the house. Once concrete hits, those stubs are exactly where they'll be for the next hundred years.
- Toilet flanges (the round opening at every toilet)
- Tub and shower drains
- Floor drains (mechanical rooms, laundry, garage if specified)
- Sink drains where the sink is on an exterior wall or island
- Refrigerator water line stub
- Hose bibbs (sometimes routed through slab penetrations)
- Main water service entry
The pre-pour walk — what to check
Your builder, plumber, and you should walk the staked-out floor plan and verify every plumbing stub against the plans. Bring the plans. Bring a tape measure. Walk every room.
- Toilets: 12 inches from finished wall (the "rough-in") for standard toilets — verify there's actually 12 inches of clear floor to the framed wall, not the rough framing. Different toilets use 10- or 14-inch rough-ins. Confirm the model.
- Tubs: drain is at the head or foot end as specified; tub will sit against the wall it's drawn against
- Showers: drain centered if a square pan, or in the right corner if linear; curb location and shower-niche locations confirmed
- Vanity sinks: drain stub is roughly under where the cabinet's plumbing will pass — not 6 inches off center
- Kitchen island: drain stub matches the island location and orientation
- Refrigerator: water line at the back-right or back-left corner of the fridge location, not centered
- Washer: drains at the right wall behind the washing machine, with hammer arrestors plumbed in
Toilet rough-ins assume a 12-inch dimension to FINISHED wall. If you've added 3/4-inch shiplap, ship-laid wainscot, or thick tile, your finished wall is forward of the studs. Tell the plumber the finish thickness before they set the toilet flange. We've watched too many toilets sit 1 inch too close to the wall.
Slope, vents, and the things you can't see
Drain lines need consistent slope — 1/4 inch per foot is the gold standard for 2-inch and smaller pipe, 1/8 inch per foot for 3-inch and larger. Insufficient slope causes solids to settle and clogs to form years down the road. Excessive slope causes water to outrun the solids, which causes the same thing. Confirm your plumber is hitting the spec.
Every drain needs a vent. Vent stacks come up out of the slab in walls (usually exterior walls) and go up through the roof. The vent locations are usually fine but verify they don't conflict with anything you're planning — like that 36-inch range hood you wanted vented out the same wall.
Pressure test — before the concrete pours
Before pour, the entire DWV (drain-waste-vent) system gets a head test — capped at the bottom, filled with water from above, and held to verify there are no leaks. The water level cannot drop. The inspector verifies this. If you're on site, look for the test plugs and the water in the stacks — this is your assurance that the system you're about to bury for life is intact.
Free Download
The Ultimate Home Building Checklist
300+ items across 12 phases. The internal field document we walk every Angel home through. Yours, free.
The five things we've watched go wrong
- Toilet flanges set for a 12-inch rough-in when the client ordered a 14-inch toilet (4 inches of cabinet space lost on each side)
- Tub drains on the wrong end (drain on the head end of a soaking tub — aesthetic catastrophe)
- Kitchen island drain set 18 inches off where the island actually ended up — required saw-cut, full demo of the island base
- Master shower drain centered when a linear drain at the wall was specified — required the entire shower pan to be reworked after framing
- Washer hookup with no hammer arrestors — resulted in pipe-banging that took eight months to track down
The forty-five minutes that protects everything
Be there for the pre-pour walk. If your builder doesn't schedule one, ask for it. Walk it slowly. Question every stub. The plumber would rather move a pipe today than cut concrete a year from now — trust us on that.
— Daniel Caro, Construction Manager. Twenty years running jobsites — foundation, framing, mechanicals, and the unglamorous details that decide a great home. Get the free Ultimate Home Building Checklist for the field-tested list we walk every Angel home through.